Note:
You need basic PHP coding knowledge to customize the form. However, if you face any issues, contact me via the support page. I'll be happy to assist you. https://themeforest.net/user/xenioushk
If you like this plugin, please spare a minute to rate it.
Petition manager is a premium and fully functional petition management WordPress plugin that allows you to create unlimited number of petitions from admin panel. You can easily enter every information for a petition from just a single place. Check petition plugin feature-

You need at least WordPress version 4.8+ installed for this plugin to work properly. It is strongly recommended that you always use the latest stable version of WordPress to ensure all known bugs and security issues are fixed. Other requirements:
To install a plugin, you must first upload the plugin files and then activate the plugin. The plugin files can be uploaded in two ways:
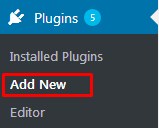
Step 01 Go to WP admin dashboard and click on Plugins >> Add New.
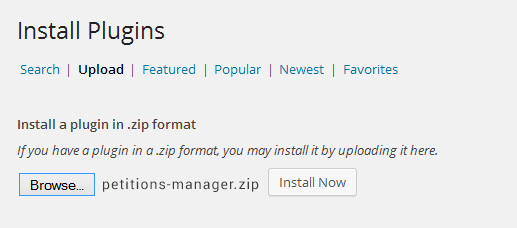
Step 02 Click on Upload Plugin and upload petitions-manager.zip file. Finally, click Install Now button.
Step 03 Once plugin successfully uploaded in the server, you will get a message to activate it. Click on Activate Plugin Link and plugin will be ready to use . After activating the plugin, you will be redirected in plugins page of the WordPress admin panel, and you will get newly installed Petitions Manager WordPress Plugin in there.

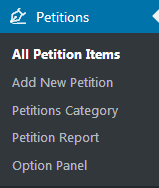
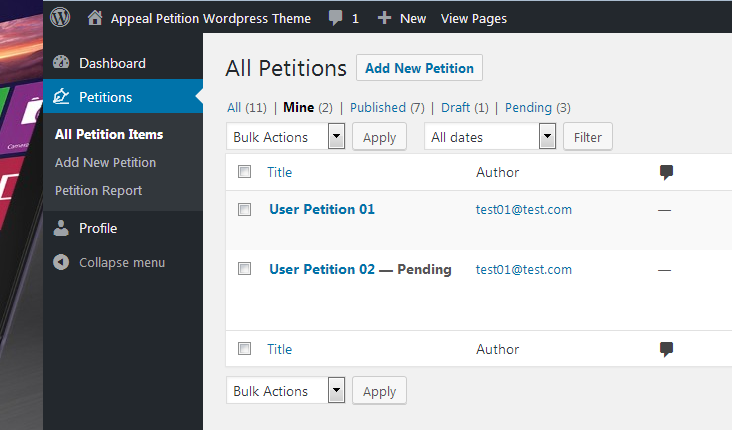
Step 04 Now you are ready to use Petitions Manager WordPress Plugin! In left sidebar menu, you will see a new section like the following screenshot.
Step 01 Login to WP Admin Panel.
Step 02 Navigate to Petitions >> Add New Petition page.
Step 03 Next, add the following informations to generate petition page.
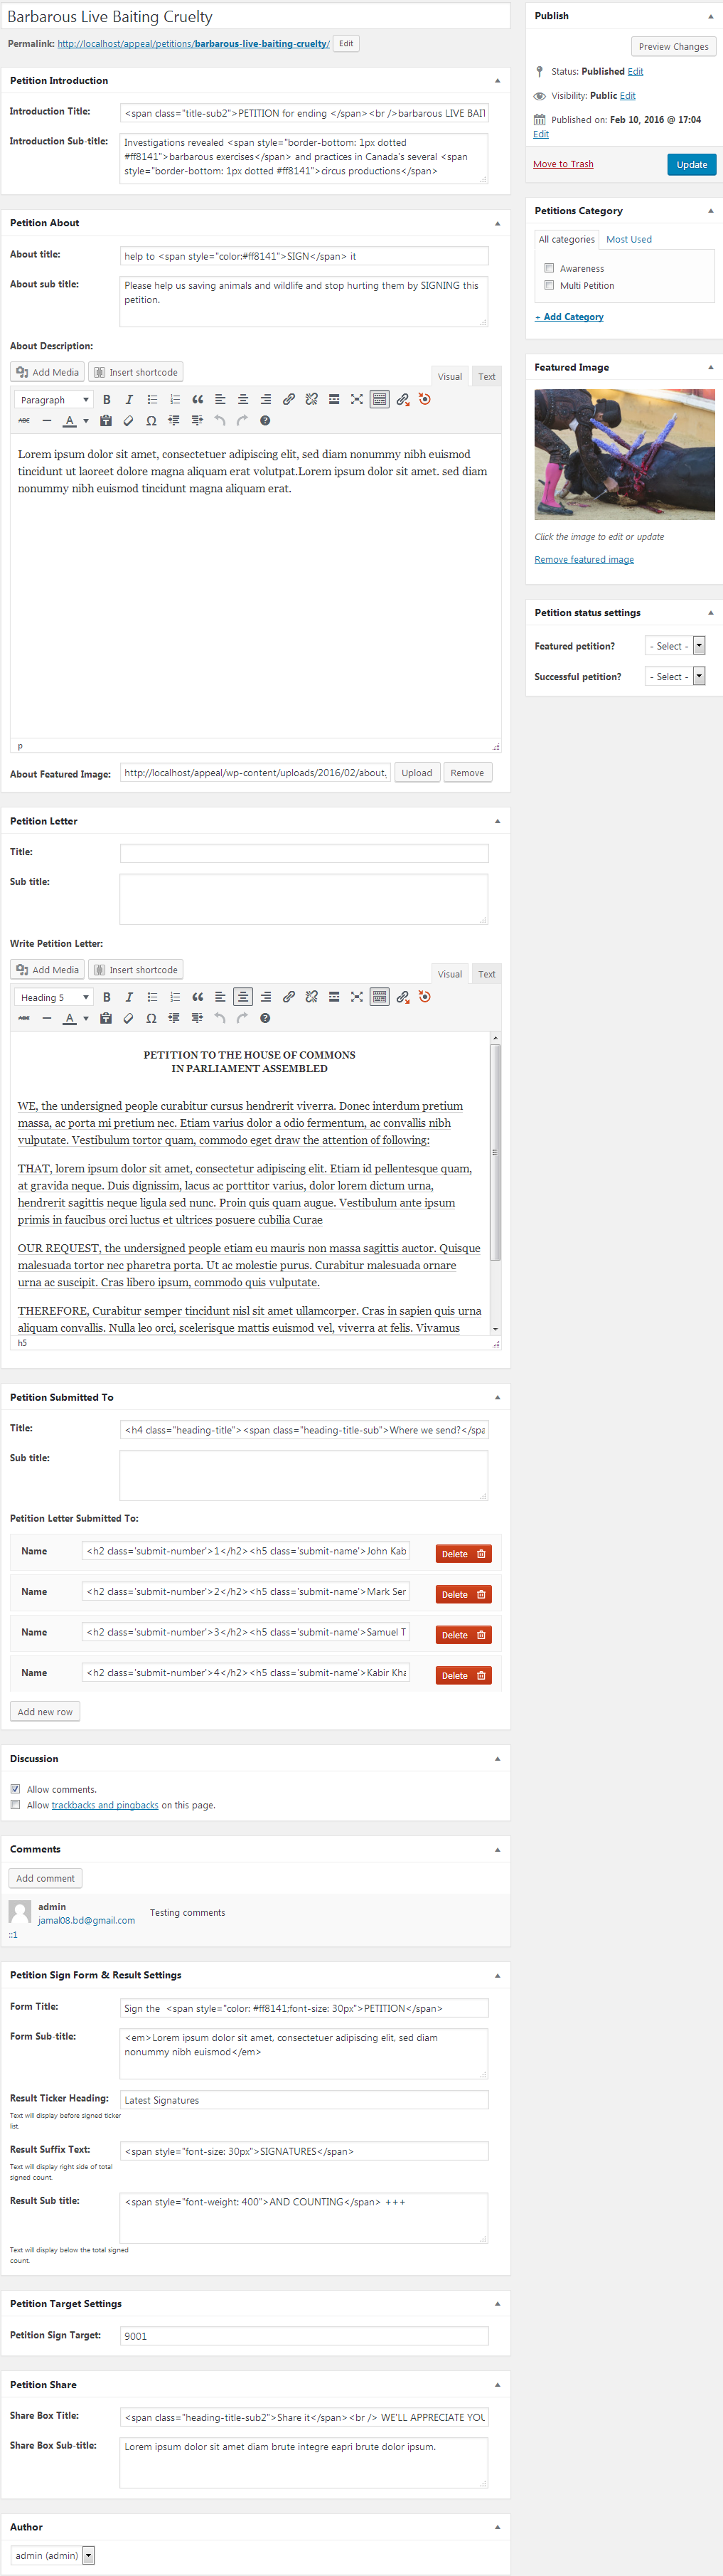
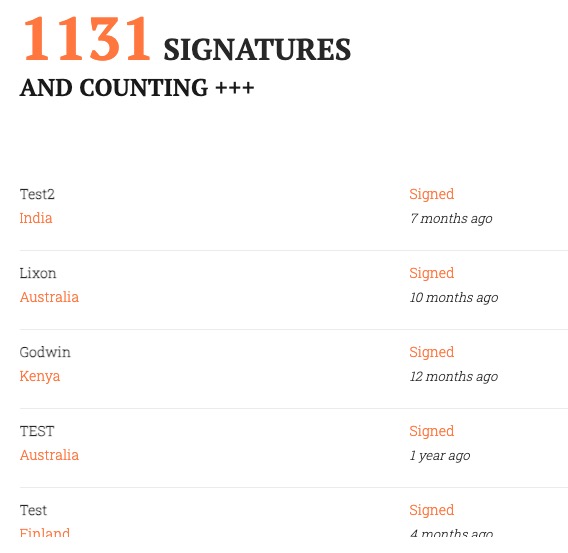
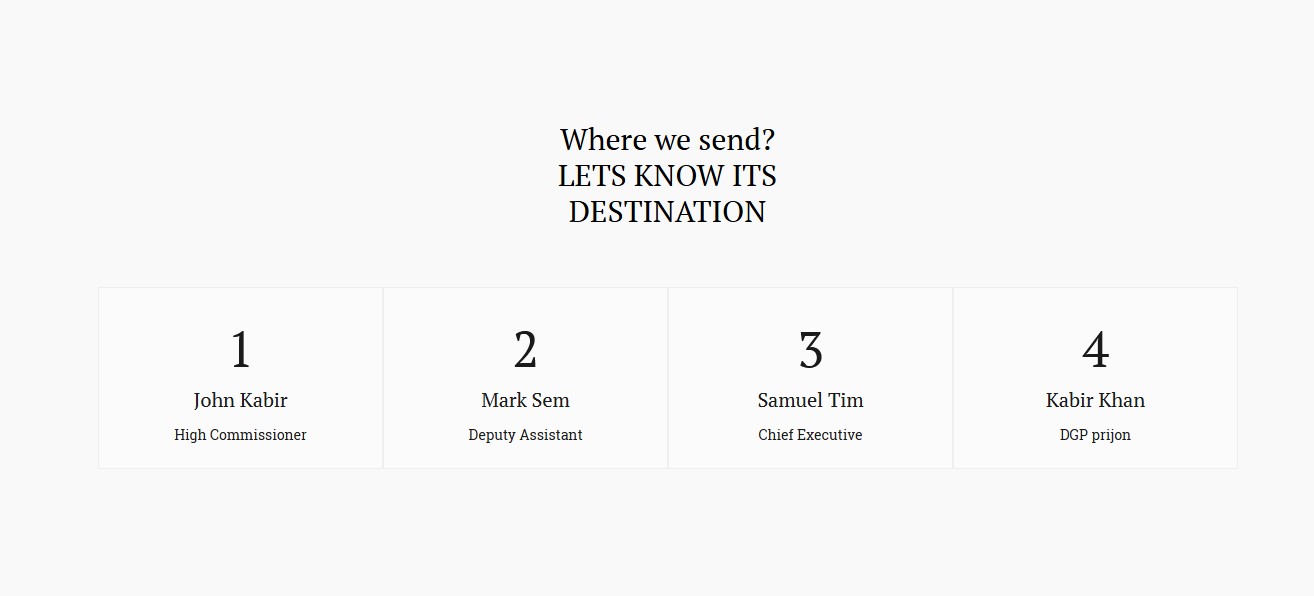
Step 04 Finally, Click Publish/Update button, and you will see output like below-
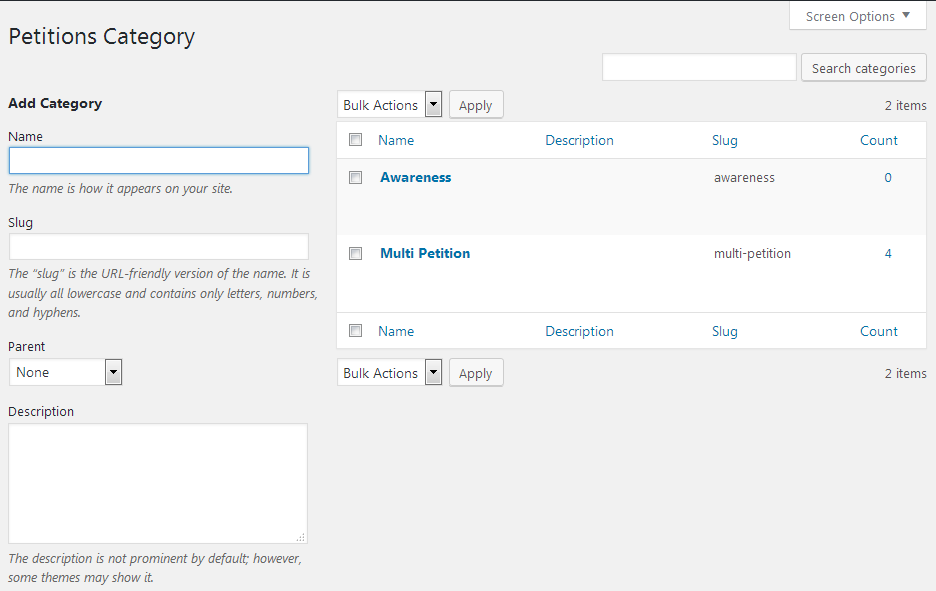
Step 01 Login to WP Admin Panel.
Step 02 Navigate to Petitions >> Petitions Category page.
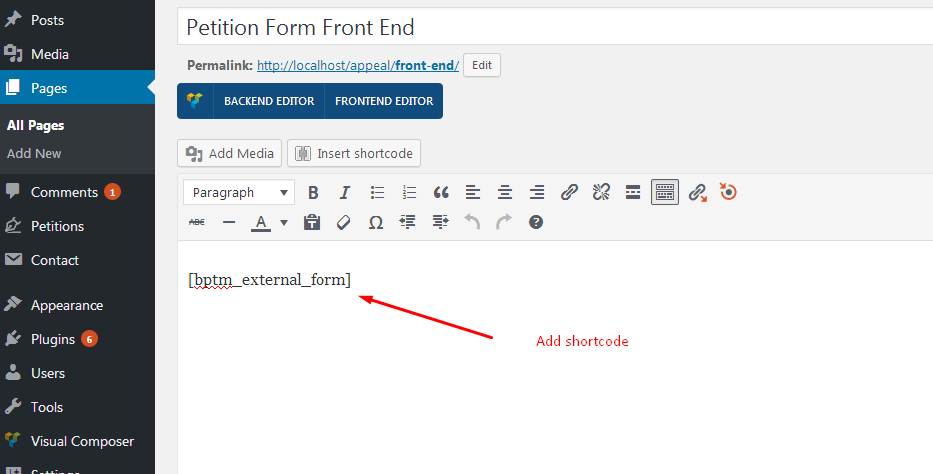
To collect user petitions, you can easily display an external petition form. Please follow the steps listed below to display the petition.
Step 01 Login to the WordPress admin panel.
Step 02 Navigate to Products > All Products.
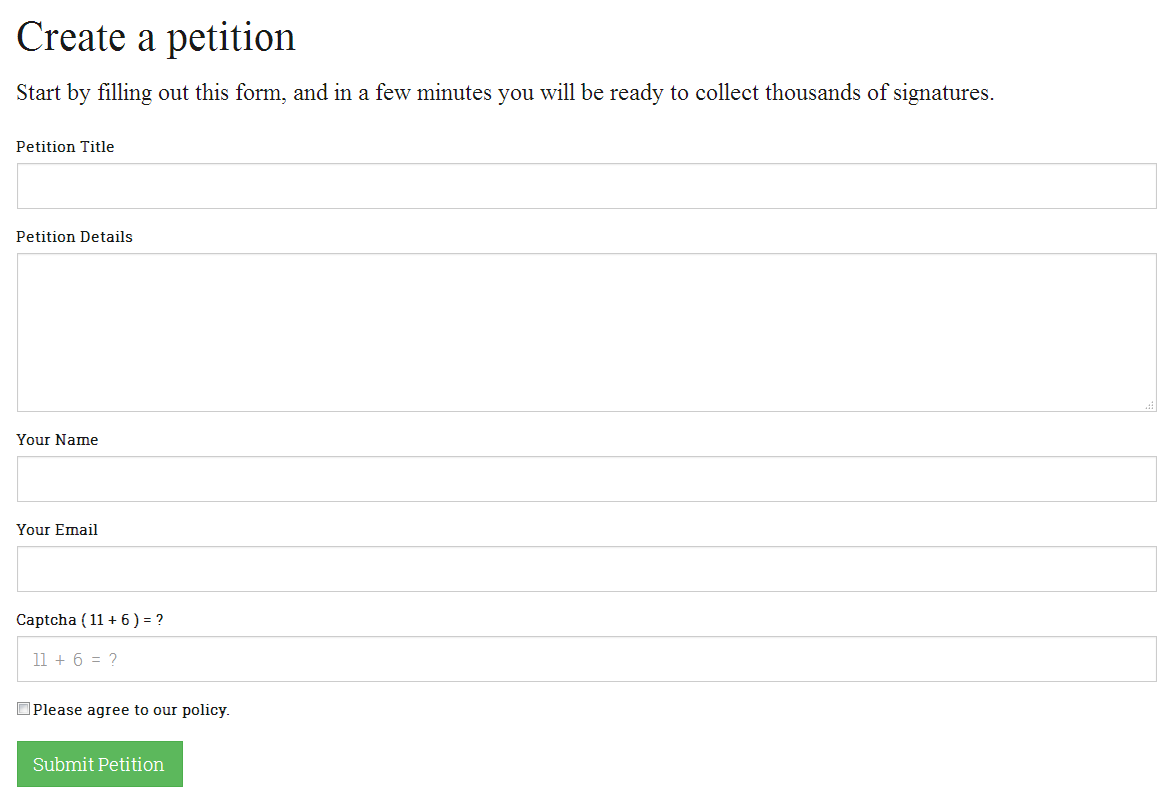
Step 03 Once the user fills up all the information, the plugin creates a new account for the user and sends login information to the user's email address. Later, User edit petition information by login their account. .
Step 04 Users can edit their petition information by logging into their account. Later, User edit petition information by login their account. .
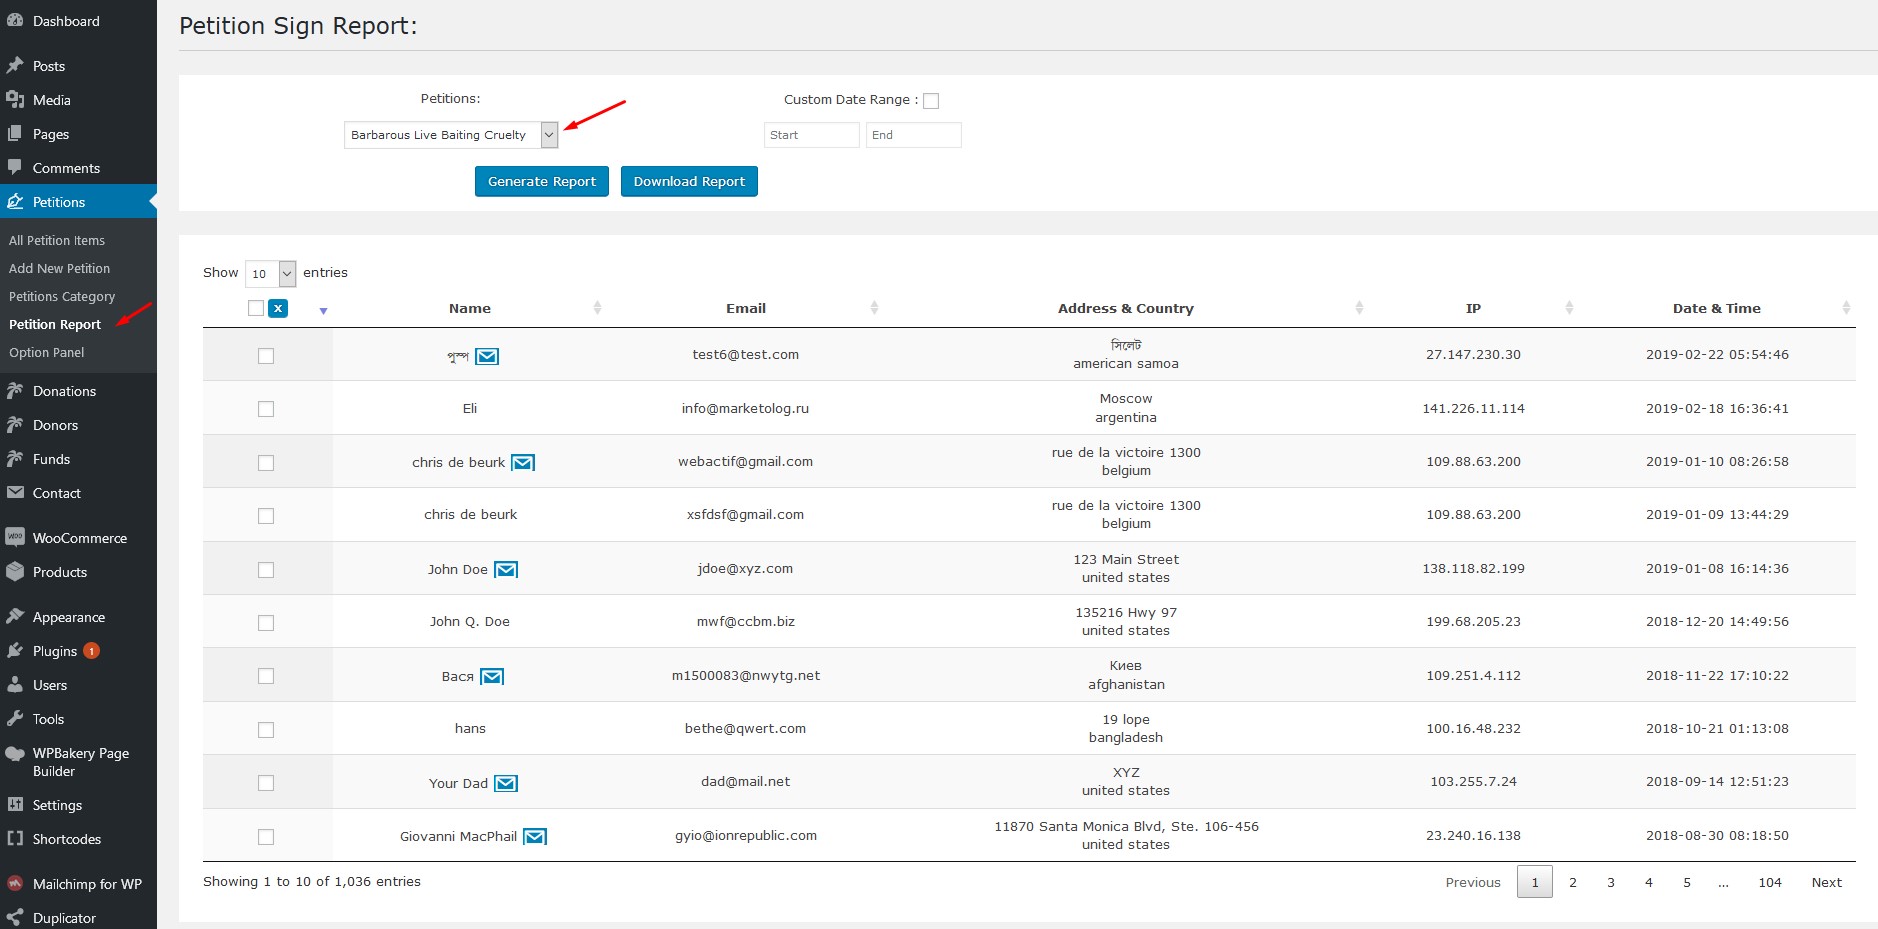
Step 01 Navigate to Petitions >> Petition Report Section. Next, select the Petition from Petitions drop down list. You will get all files downloaded information in report table.
Step 02 You can also filter petition sign data based on custom date range. Check Custom date range check box and set Start & End date. Finally, click Generate Report button.
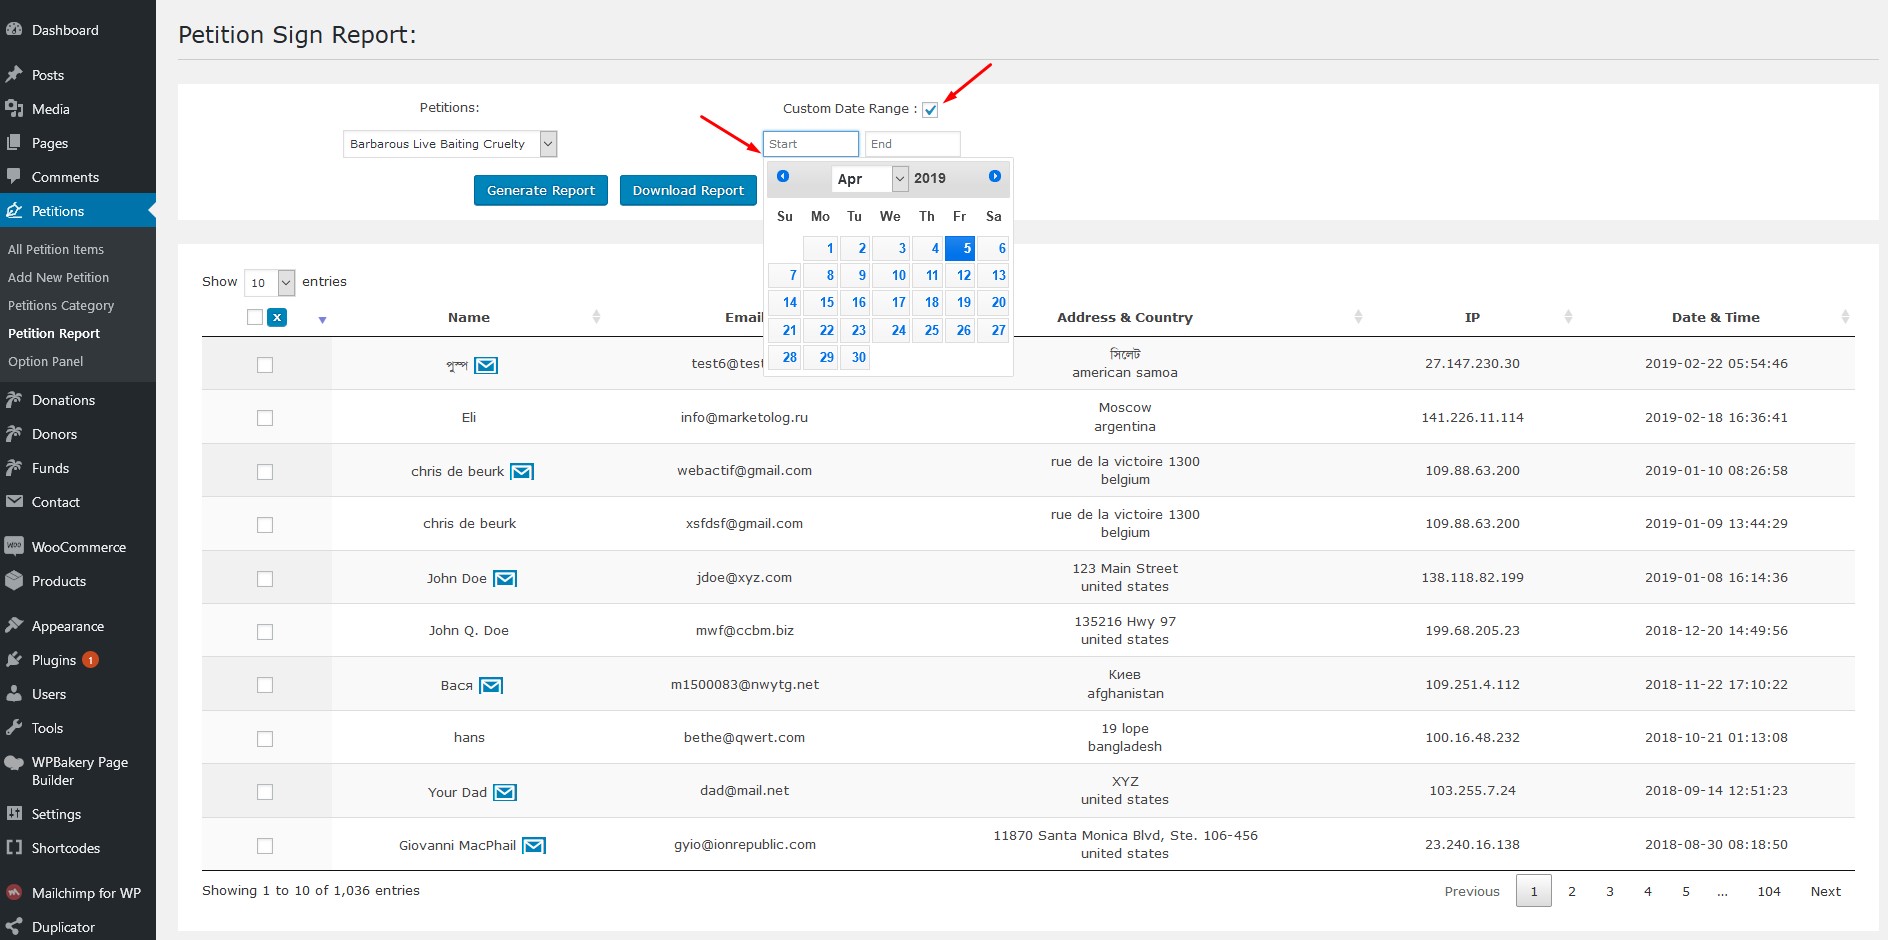
Step 03 Click the Download Report button to get the full report in CSV format.
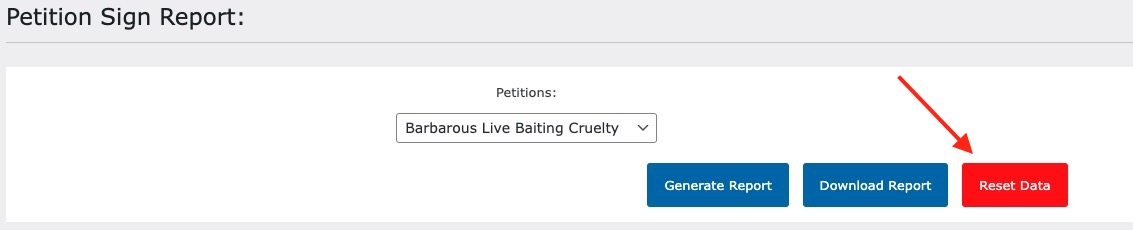
Step 01 Navigate to Petitions >> Petition Report Section. Next, select the petition from Petitions drop down list.
Step 02 Now, click on the Reset Data button.
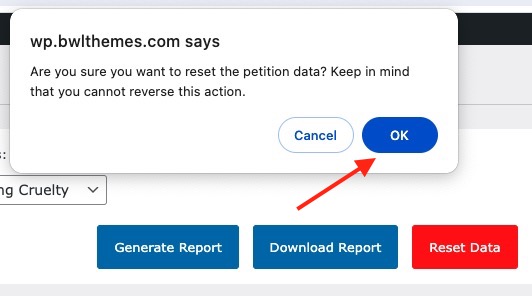
Step 03 You will see a confirmation window. Click the Ok button to reset the data.
Available shortcodes listed in below -
[bptm_external_form /] [petition_about id="123" hide_image="0" layout="layout_1" bptm_extra_class=""/]

[petition_about id="123" hide_image="0" layout="layout_1" bptm_extra_class=""/]
Customize Petition Form Template:
You need basic PHP coding knowledge to customize the form. However, if you face any issues, contact me via the support page. I'll be happy to assist you. https://themeforest.net/user/xenioushk
Step 01: Go to wp-content/plugins/petitions-manager/petition_templates folder.
Step 02: Copy the petition_templates folder and paste in to currently activated theme folder.
Step 03: We assume "appeal" is our currently activated theme. Next, go to the wp-content/themes/appeal/petition_templates folder and open the sign_form.php file. Go to line no 114 and you will get the code like following screenshot.
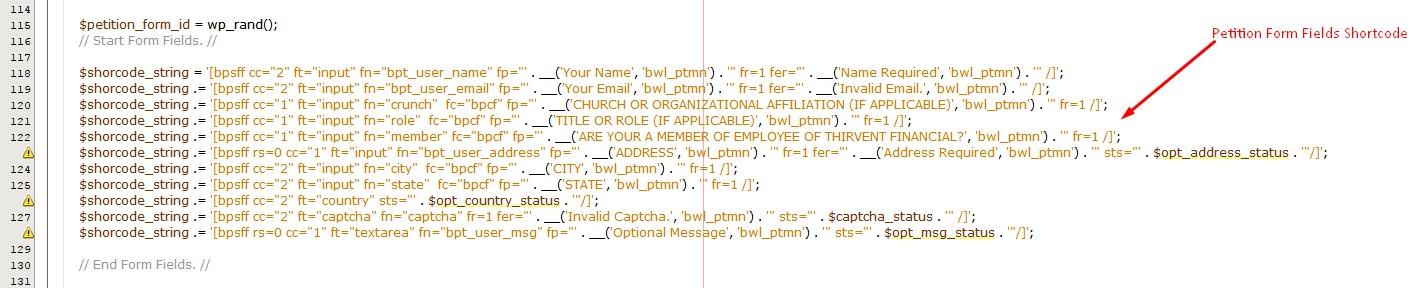
Example Shortcode:
$shorcode_string = '[bpsff cc="2" ft="input" fn="bpt_user_name" fp="' . __('Your Name', 'bwl_ptmn') . '" fr=1 fer="' . __('Name Required', 'bwl_ptmn') . '" /]';
$shorcode_string .= '[bpsff cc="2" ft="input" fn="bpt_user_email" fp="' . __('Your Email', 'bwl_ptmn') . '" fr=1 fer="' . __('Invalid Email.', 'bwl_ptmn') . '" /]';
$shorcode_string .= '[bpsff cc="2" ft="input" fn="zipcode"  fc="bpcf zipcode" fp="' . __('Zipcode', 'bwl_ptmn') . '" fr=1 /]';
$shorcode_string .= '[bpsff rs=0 cc="1" ft="input" fn="bpt_user_address" fp="' . __('ADDRESS', 'bwl_ptmn') . '" fr=1 fer="' . __('Address Required', 'bwl_ptmn') . '" sts="' . $opt_address_status . '"/]';
$shorcode_string .= '[bpsff cc="2" ft="input" fn="city"  fc="bpcf" fp="' . __('CITY', 'bwl_ptmn') . '" fr=1 /]';
$shorcode_string .= '[bpsff cc="2" ft="input" fn="state"  fc="bpcf" fp="' . __('STATE', 'bwl_ptmn') . '" fr=1 /]';
$shorcode_string .= '[bpsff cc="2" ft="country" sts="' . $opt_country_status . '"/]';
$shorcode_string .= '[bpsff cc="2" ft="captcha" fn="captcha" fr=1 fer="' . __('Invalid Captcha.', 'bwl_ptmn') . '" sts="' . $captcha_status . '" /]';
$shorcode_string .= '[bpsff rs=0 cc="1" ft="textarea" fn="bpt_user_msg" fp="' . __('Optional Message', 'bwl_ptmn') . '" sts="' . $opt_msg_status . '"/]';
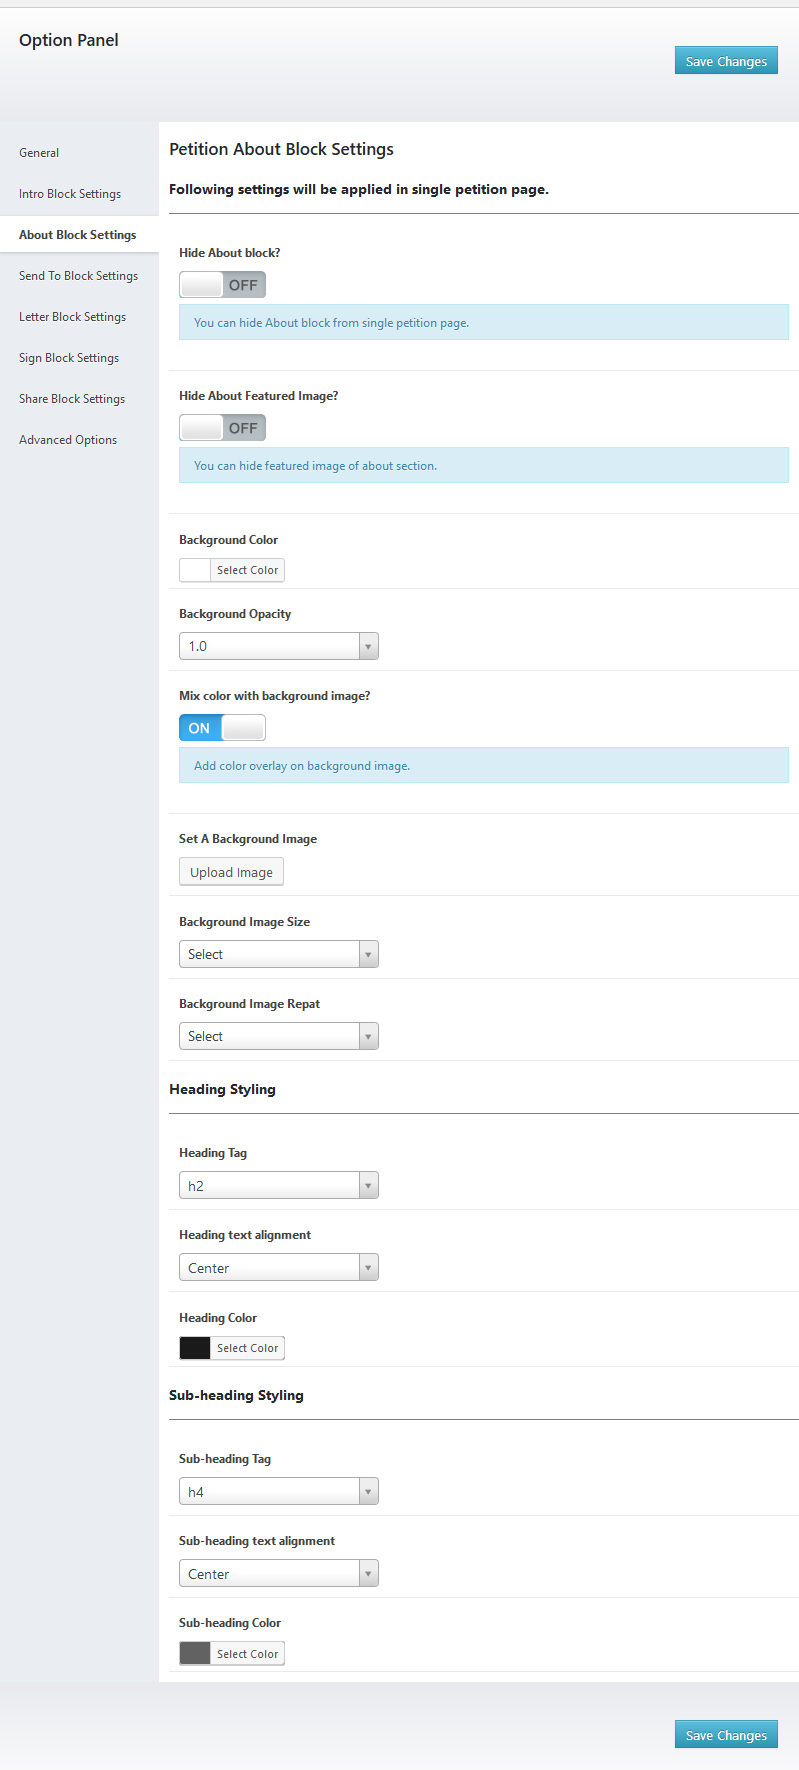
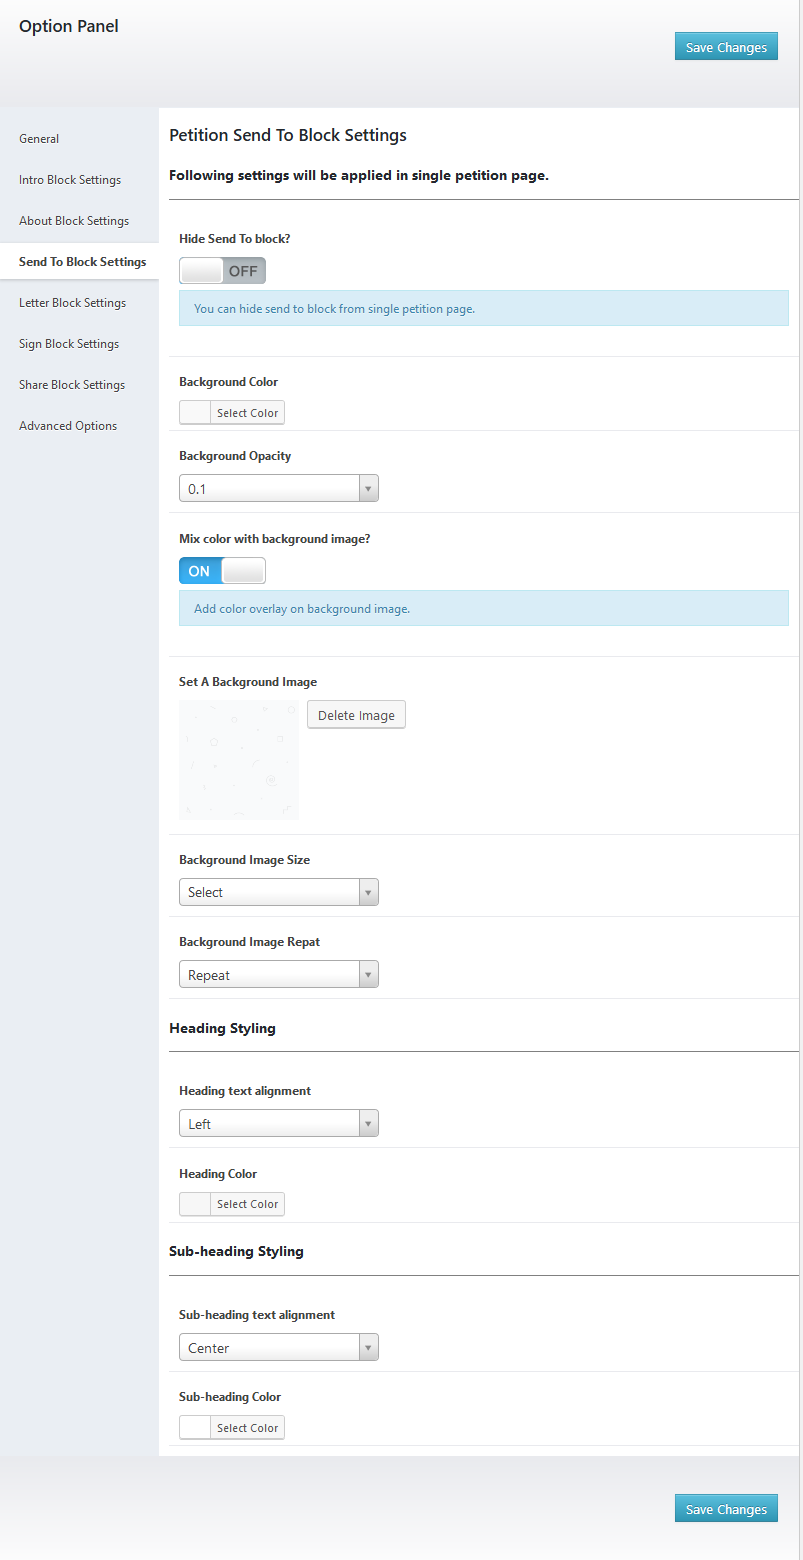
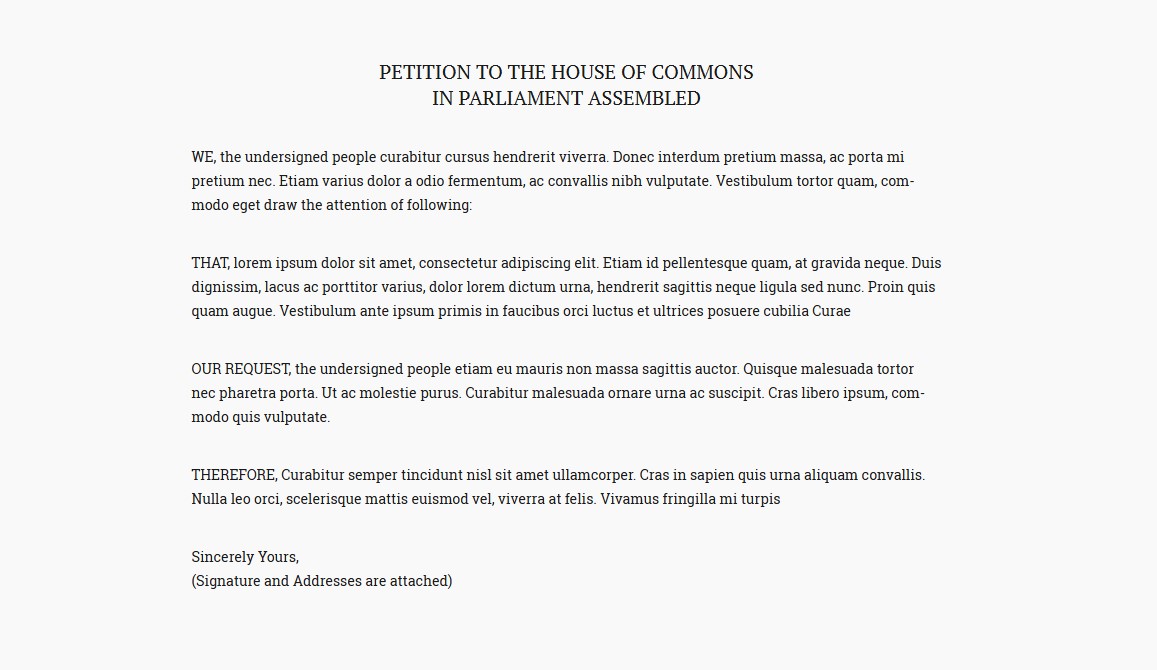
Plugin provides all the required options to customize the Attachment tab according to your requirements. Here goes the detail of all options.

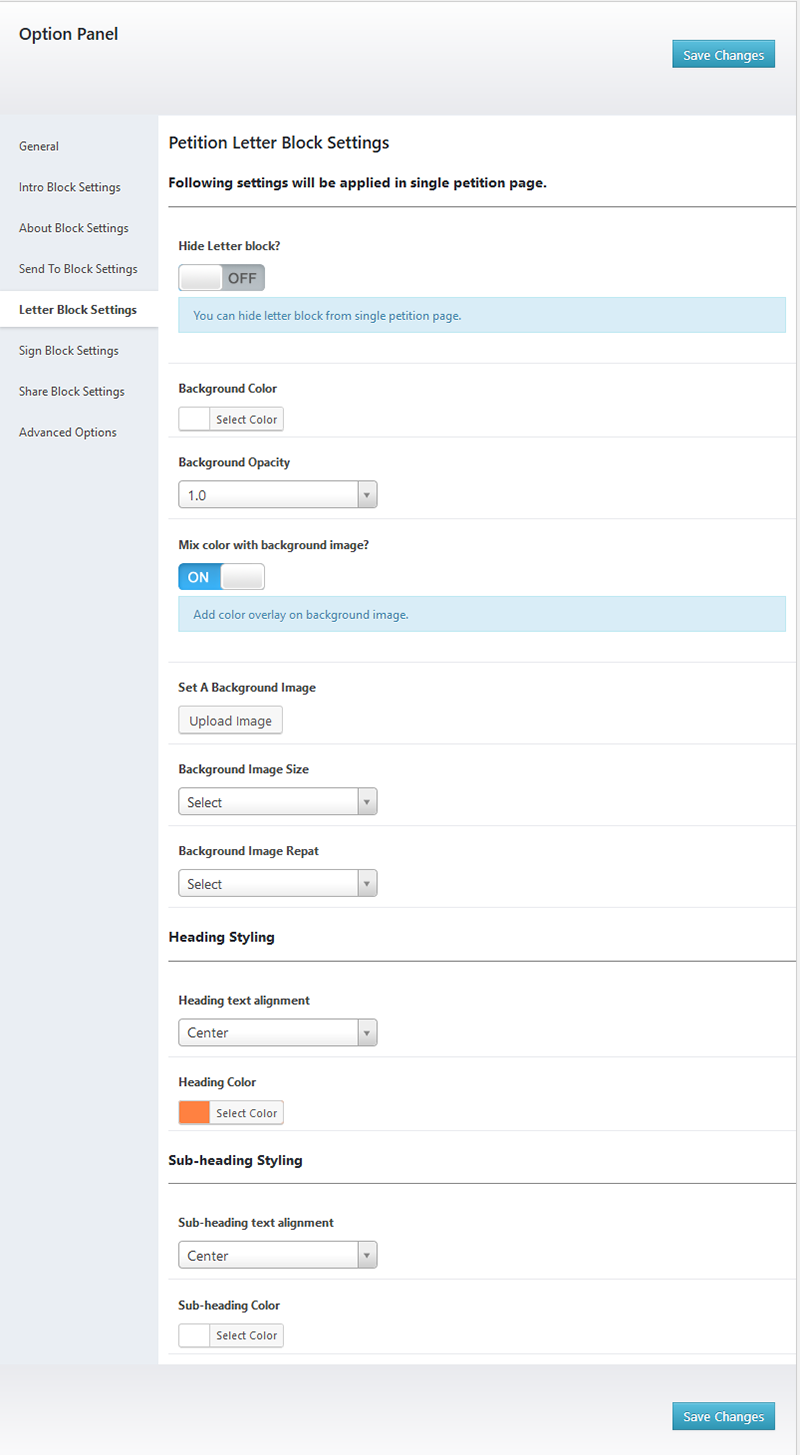
Plugin provides all the required options to customize the Attachment tab according to your requirements. Here goes the detail of all options.
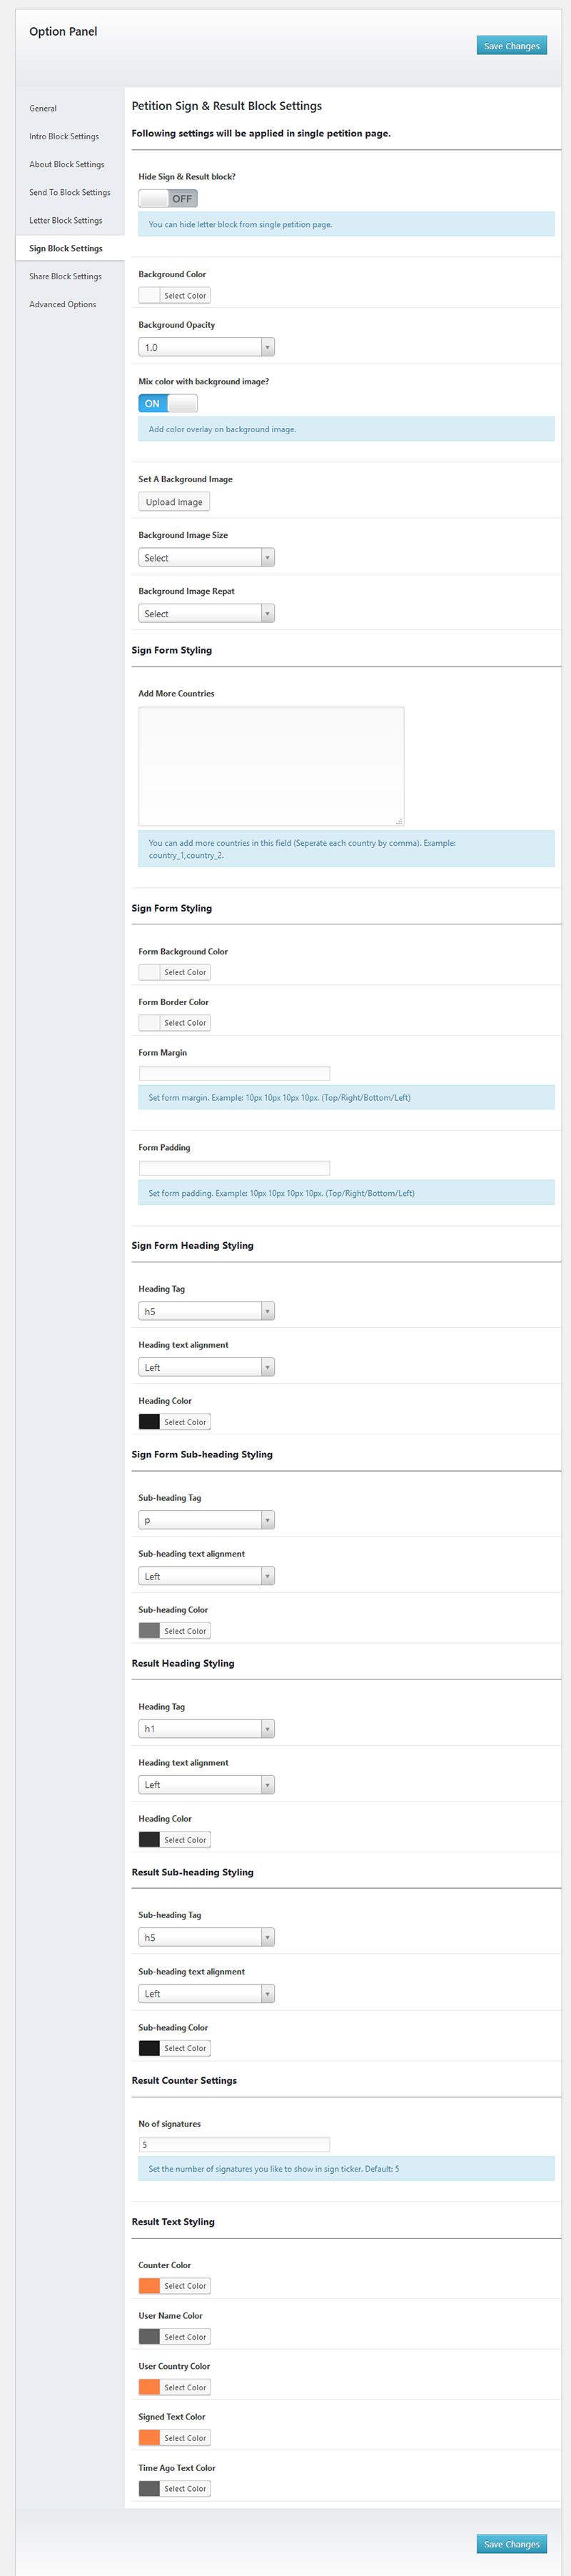
Plugin provides all the required options to customize the Attachment tab according to your requirements. Here goes the detail of all options.
Plugin provides all the required options to customize the Attachment tab according to your requirements. Here goes the detail of all options.
Plugin provides all the required options to customize the Attachment tab according to your requirements. Here goes the detail of all options.
Plugin provides all the required options to customize the Attachment tab according to your requirements. Here goes the detail of all options.
Plugin provides all the required options to customize the Attachment tab according to your requirements. Here goes the detail of all options.
From the version 1.0.8, plugin introduced filter feature. It allows you to add/change plugin deafult texts and apply your own content. Moreover, you will not loose your modified text upon update the plugin files.
To apply filter on the plugin texts, please follow the steps described in below properly.
Step 01 Go to wp-content/themes/your-theme/functions.php file, and open it.
Step 02 Now, we want to modify the default no-reply email address. So, we will use bptm_sender_no_reply_email filter that will set the no-reply email address.
Step 03 Next, add the following lines of code in the functions.php file and save the file.
add_filter('bptm_sender_no_reply_email', 'cb_bptm_sender_no_reply_email');

function cb_bptm_sender_no_reply_email( $content ) {

    return 'no-reply@bluewindlab.net';

}
applied to the no reply sender email address of sign form. Default: no-reply@site.com
applied to the sign form required field error message. Default: One or more fields have an error.
applied to the sign form required field thank you message. Default: Thanks for your sign!
Petitions Manager WordPress Plugin comes with Six (06) months of premium support directly from the developer. We are committed to assisting our buyers, and most of the time, it takes less than 24 hours to reply to the support message. If you face any particular issue regarding the plugin, the developer will assist you in fixing the problem.
Petitions Manager WordPress Plugin Documentation WordPress Plugin offers cool translation feature. So, beside the English language, you can easily translate the plugin texts for other languages too. Check following steps to translate Petitions Manager WordPress Plugin Documentation WordPress plugin.
Step 01: To translate the plugin texts, please download and install Poedit software in your computer. Here goes the download link- https://poedit.net/download
Step 02: Next, navigate to /wp-content/plugins/petitions-manager/lang/. You will get a file named default.po.
Step 03: Our Plugin text-domain is 'bwl_ptmn'. Now, we want to translate our theme text in to Dutch language. So, copy default.po file and rename it as bwl_ptmn-de_DE.po
Step 04: Now, open that newly created 'bwl_ptmn-de_DE.po' file using Poedit software. You will get all the plugin texts in there and you just need to add appropriate translated text in Translation box.
Step 05: Finally, save the file and you will get 'bwl_ptmn-de_DE.mo' file inside languages folder.
Not sure about country and language code? Get your Country Code and Language code.
Yes, it you can.
If you modified any files of plugin, please take a backup before update all files and folder. We highly recommend to take backup of language files.
Upgrading to version 1.3.3