2023, August, 21 - v 1.3.2
- - Updated: WPBakery Page Builder to 7.0
- - Updated: Fixed the translation issue of 404 page.
- - Updated: Theme compatibility with the lastest WordPress version.
- - Updated: Theme language/translation file.
- - Updated: Theme documentation.
2023, June, 07 - v 1.3.1
- - Updated: WPBakery Page Builder to 6.13.0
- - Updated: Theme compatibility with the lastest WordPress version.
- - Updated: Theme language/translation file.
- - Updated: Theme documentation.
2023, January, 08 - v 1.3.0
- - Updated: Woocommerce product-searchform.php template
- - Updated: Theme for WP version 6.1.1
- - Updated: WPBakery Page Builder to 6.10.0
- - Updated: Reddrop Buddies WPBakery Page Builder to 1.2.0
- - Updated: Theme options panel.
- - Updated: Theme language/translation file.
- - Updated: Theme documentation.
2022, June, 08 - v 1.2.9
- - Updated: Theme for WordPress 5.6.0
- - Updated: WPBakery Page Builder to 6.9.0
- - Updated: Theme options panel.
- - Updated: Theme language/translation file.
- - Updated: Theme documentation.
2022, January, 01 - v 1.2.8
- - Updated: WPBakery Page Builder to 6.8.0
- - Updated: Theme options panel.
- - Updated: Theme language/translation file.
- - Updated: Theme documentation.
2021, October, 28 - v 1.2.7
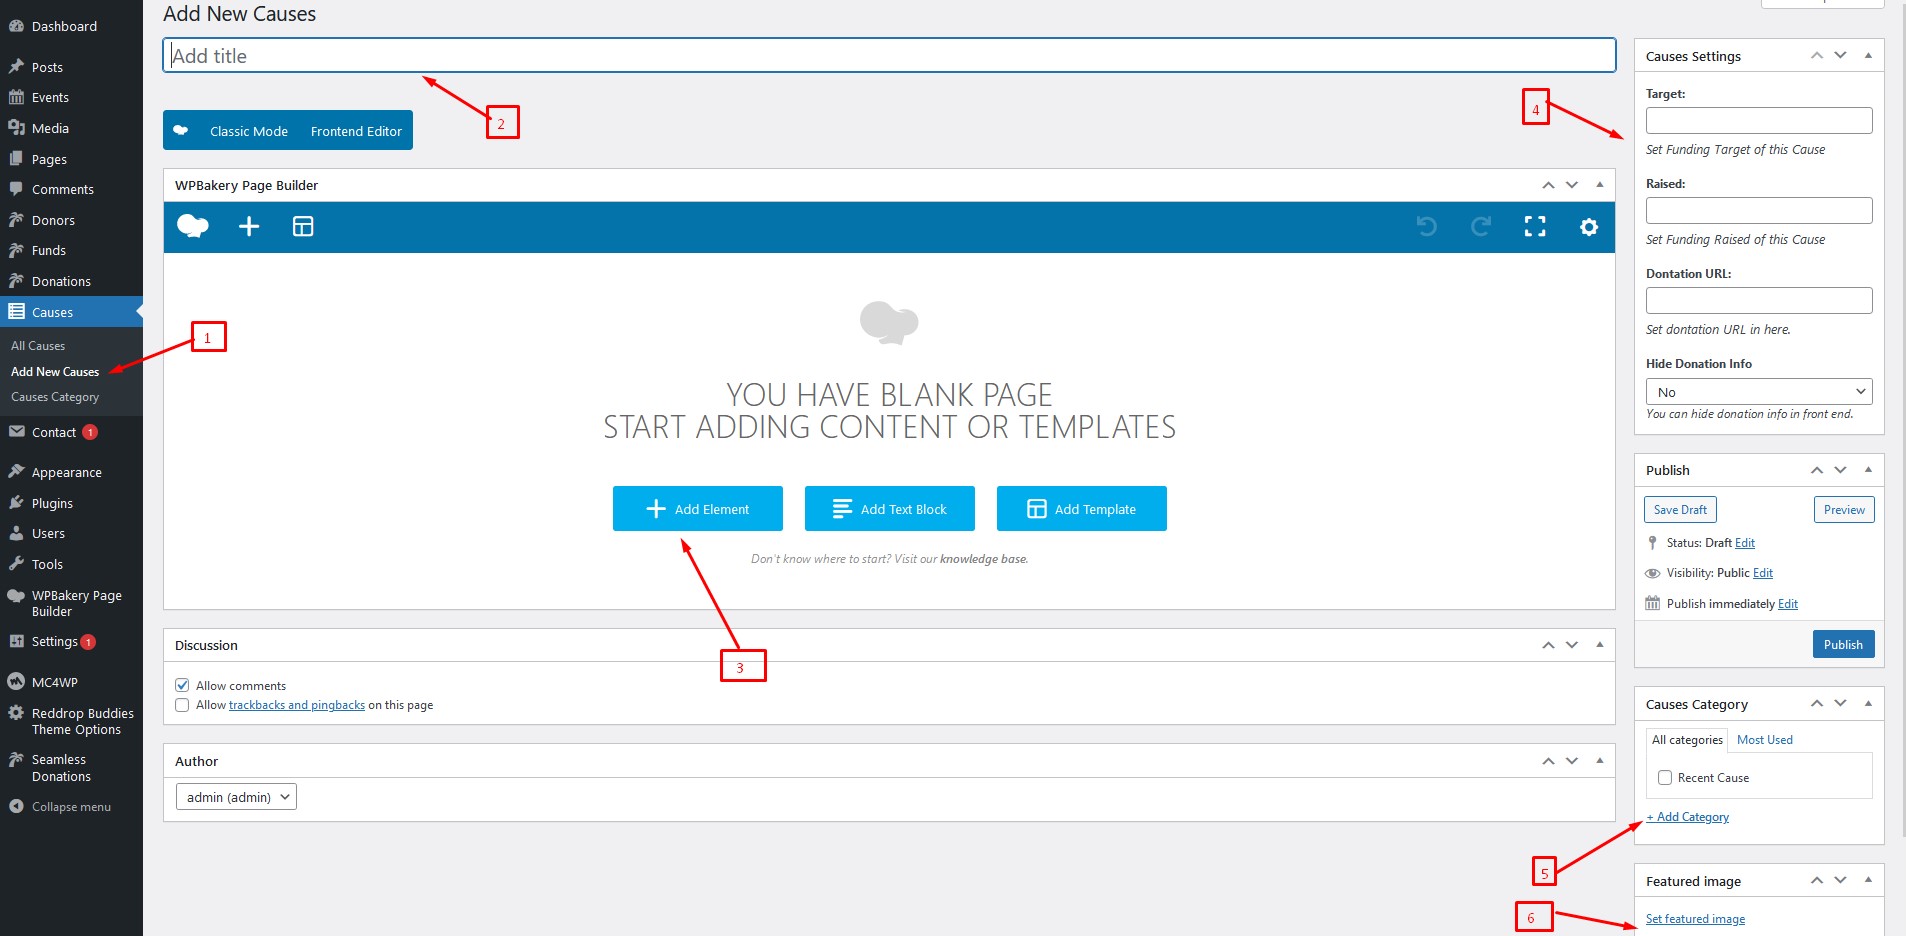
- Added: Custom option to show/hide donation information.
- Updated: Theme Red Drop Buddies VC Addon 1.1.9
- Updated: Theme language/translation file.
- Updated: Theme documentation.
2021, September, 24 - v 1.2.6
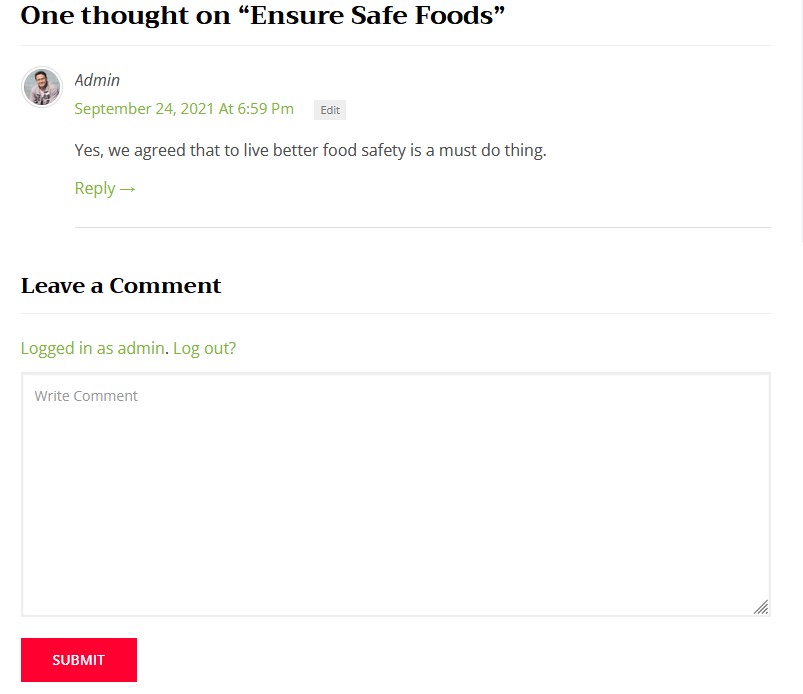
- Added: Comment options for cause details page.
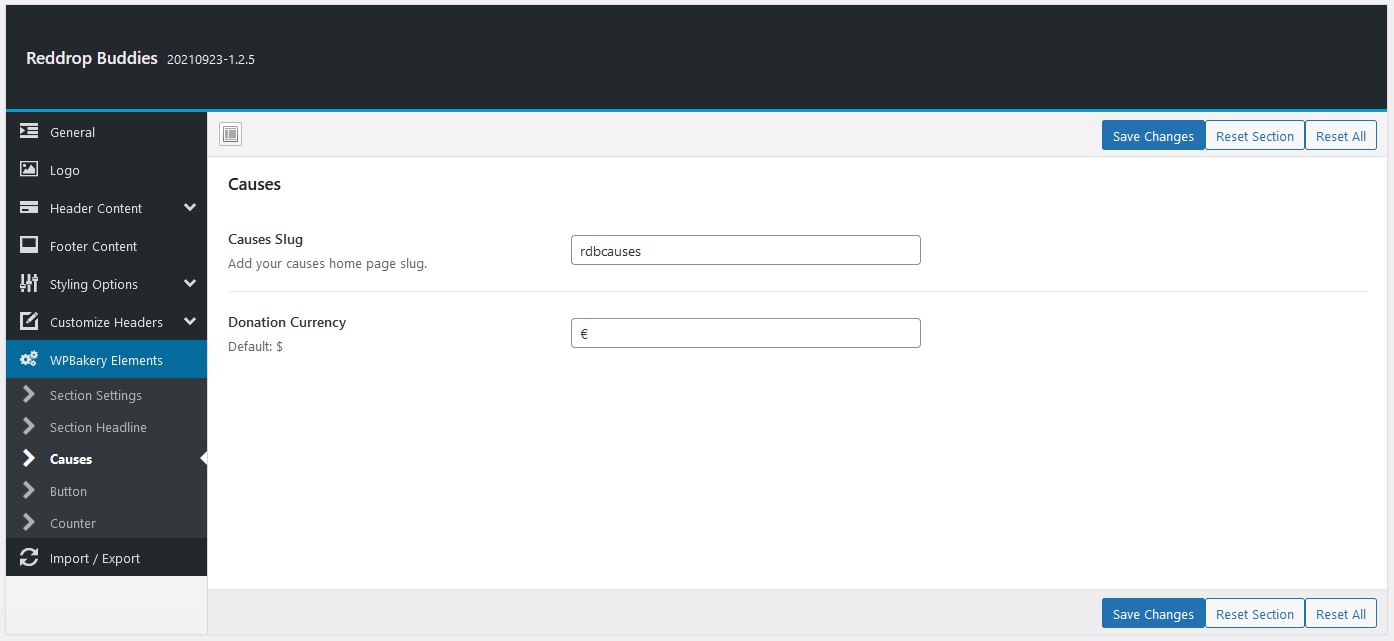
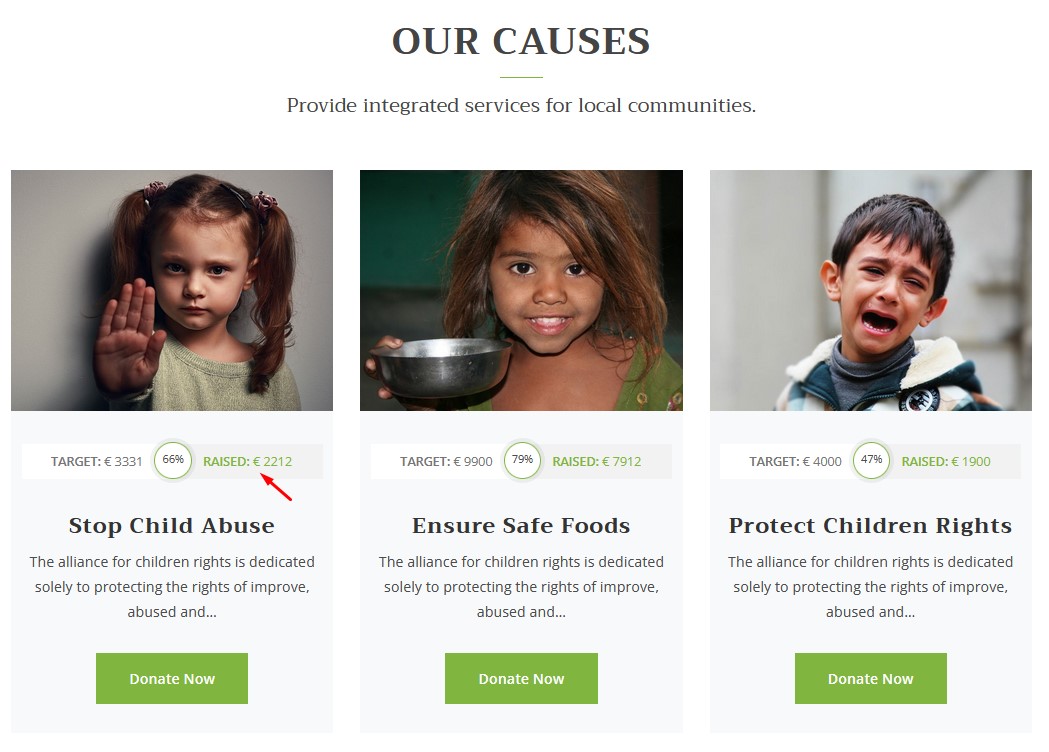
- Added: Custom currency symbol option for cause donation.
- Updated: Theme Red Drop Buddies VC Addon 1.1.8
- Updated: Theme language/translation file.
- Updated: Theme documentation.
2021, September, 23 - v 1.2.5
- Updated: Theme Red Drop Buddies VC Addon 1.1.7
- Updated: Theme language/translation file.
- Updated: Theme documentation.
2021, July, 23 - v 1.2.4
- Updated: WPBakery Page Builder to 6.7.0
- Updated: Theme language/translation file.
- Updated: Theme documentation.
2021, May, 07 - v 1.2.3
- Updated: Redux Options Panel Warning Notice.
- Updated: Theme language/translation file.
- Updated: Theme documentation.
2021, March, 17 - v 1.2.2
- Updated: WPBakery Page Builder to 6.6.0
- Updated: Theme Red Drop Buddies VC Addon 1.1.6
-- Updated: Theme documentation.
2021, January, 24 - v 1.2.1
- Updated: WPBakery Page Builder to 6.5.0
- Updated: Theme Red Drop Buddies VC Addon 1.1.5
-- Updated: Theme documentation.
2020, December, 02 - v 1.2.0
- Updated: WPBakery Page Builder to 6.4.2
-- Updated: Theme documentation.
2020, October, 04 - v 1.1.9
- Updated: WPBakery Page Builder to 6.4.1
-- Updated: Theme documentation.
2020, April, 30 - v 1.1.8
- Updated: WPBakery Page Builder to 6.2
- Updated: WooCommerce single product page featured image zoom issue.
- Updated: Theme language/translation file.
- Updated: Theme documentation.
2020, March, 15 - v 1.1.7
- Fixed: Search Box Widget Button Issue.
- Fixed: 404 Page Warning Message.
- Updated: Theme language/translation file.
- Updated: Theme documentation.
2020, January, 03 - v 1.1.6
- Updated: WPBakery Page Builder to 6.1
- Updated: Theme Red Drop Buddies VC Addon.
- Updated: Theme language/translation file.
- Updated: Theme documentation.
2019, September, 03 - v 1.1.5
- Updated: WPBakery Page Builder to 6.0.5
- Updated: Theme language/translation file.
- Updated: Theme documentation.
2019, June, 19 - v 1.1.4
- Updated: WPBakery Page Builder to 6.0.3
- Updated: Theme language/translation file.
- Updated: Theme documentation.
2019, May, 19 - v 1.1.3
- Updated: WPBakery Page Builder to 6.0.2
- Updated: WooCommerce Templates.
- Updated: Theme language/translation file.
- Updated: Theme documentation.
2019, March, 08 - v 1.1.2
- Updated: Theme Red Drop Buddies VC Addon.
- Updated: Theme language/translation file.
- Updated: Theme documentation.
2019, February, 14 - v 1.1.1
- Updated: WPBakery Page Builder to 5.7
- Updated: Child theme.
- Updated: Theme language/translation file.
- Updated: Theme documentation.
2019, February, 02 - v 1.1.0
- Updated: Theme Red Drop Buddies VC Addon.
- Updated: Theme Option Panel.
- Updated: Child theme.
- Updated: Theme language/translation file.
- Updated: Theme documentation.
2018, December, 27 - v 1.0.9
- Updated: WPBakery Page Builder to 5.6
- Updated: Child theme.
- Updated: Theme language/translation file.
- Updated: Theme documentation.
2018, November, 07 - v 1.0.8
- Updated: Visaul Composer to 5.5.5
- Updated: Theme Red Drop Buddies VC Addon.
- Updated: WooCommerce Templates.
- Updated: Child theme.
- Updated: Theme language/translation file.
- Updated: Theme documentation.
2018, September, 22 - v 1.0.7
- Updated: Visaul Composer to 5.5.4.
- Updated: Theme Red Drop Buddies VC Addon.
- Updated: Child theme.
- Updated: Theme language/translation file.
- Updated: Theme documentation.
2018, August, 26 - v 1.0.6
- Added: New Layout For Environmental Activism.
- Updated: Theme Red Drop Buddies VC Addon.
- Updated: Event Template.
- Updated: FAQ VC Addon.
- Updated: WooCommerce Templates.
- Updated: Child theme.
- Updated: Theme language/translation file.
- Updated: Theme documentation.
2018, July, 12 - v 1.0.5
- Updated: Theme Red Drop Buddies VC Addon.
- Updated: Visaul Composer to 5.5.2.
- Updated: FAQ VC Addon.
- Updated: WooCommerce Templates.
- Updated: Child theme.
- Updated: Theme language/translation file.
- Updated: Theme documentation.
2018, June, 01 - v 1.0.4
- Updated: Theme Mobile Menu.
- Updated: Theme Red Drop Buddies VC Addon.
- Updated: WooCommerce Templates.
- Updated: Child theme.
- Updated: Theme language/translation file.
- Updated: Theme documentation.
2018, April, 25 - v 1.0.3
- Added: Political Theme Multi Page Layout.
- Added: Political Theme One Page Layout.
- Added: Charity Theme One Page Layout.
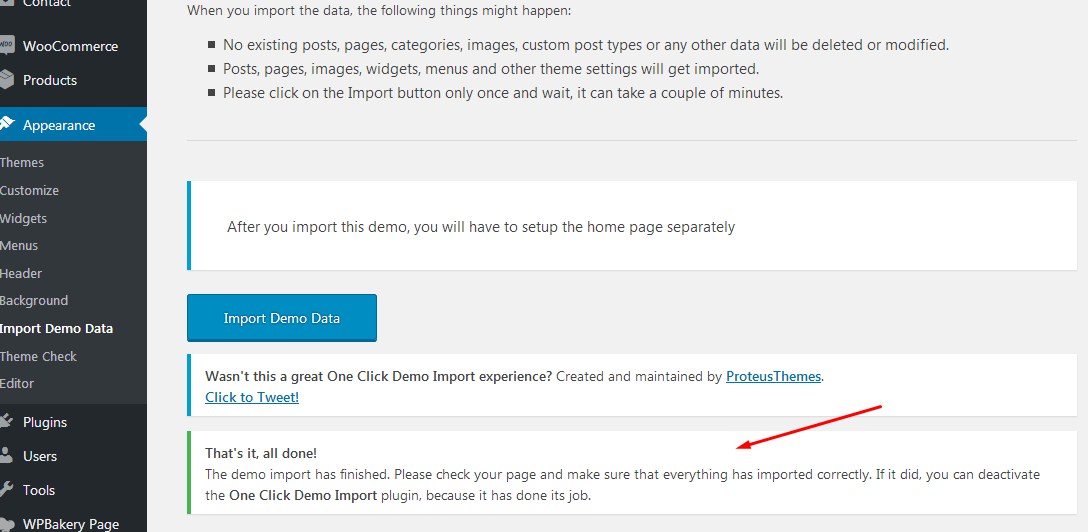
- Fixed: One click demo installer issue.
- Updated: Theme Red Drop Buddies VC Addon.
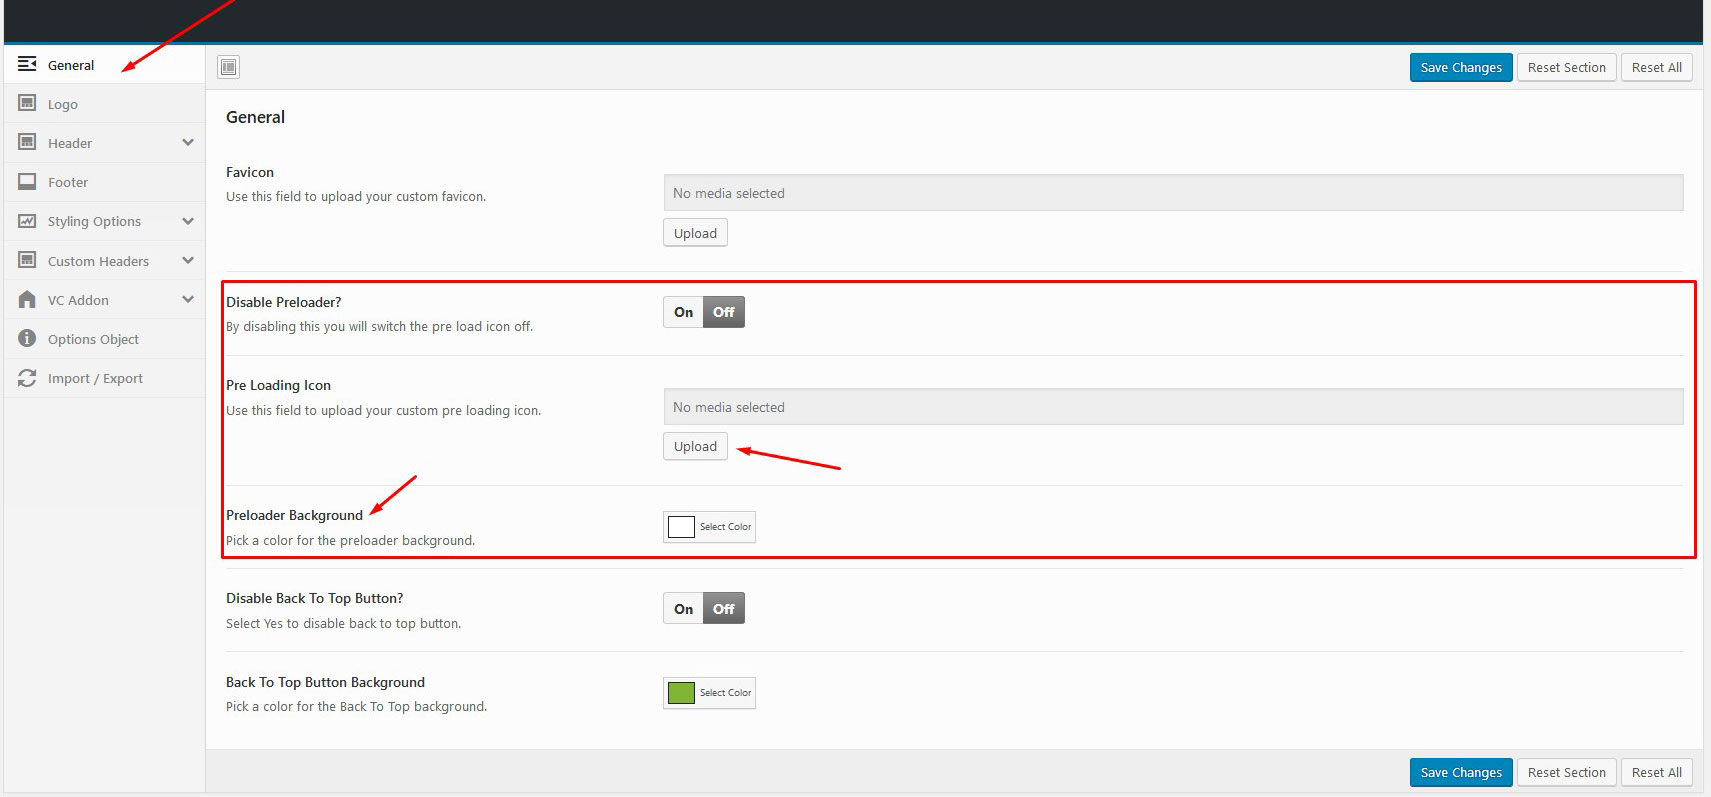
- Updated: Theme option panel. Options added to customize site buttons, headline colors and carousel navigation.
- Updated: Child theme.
- Updated: Theme language/translation file.
- Updated: Theme documentation.
2018, March, 18 - v 1.0.2
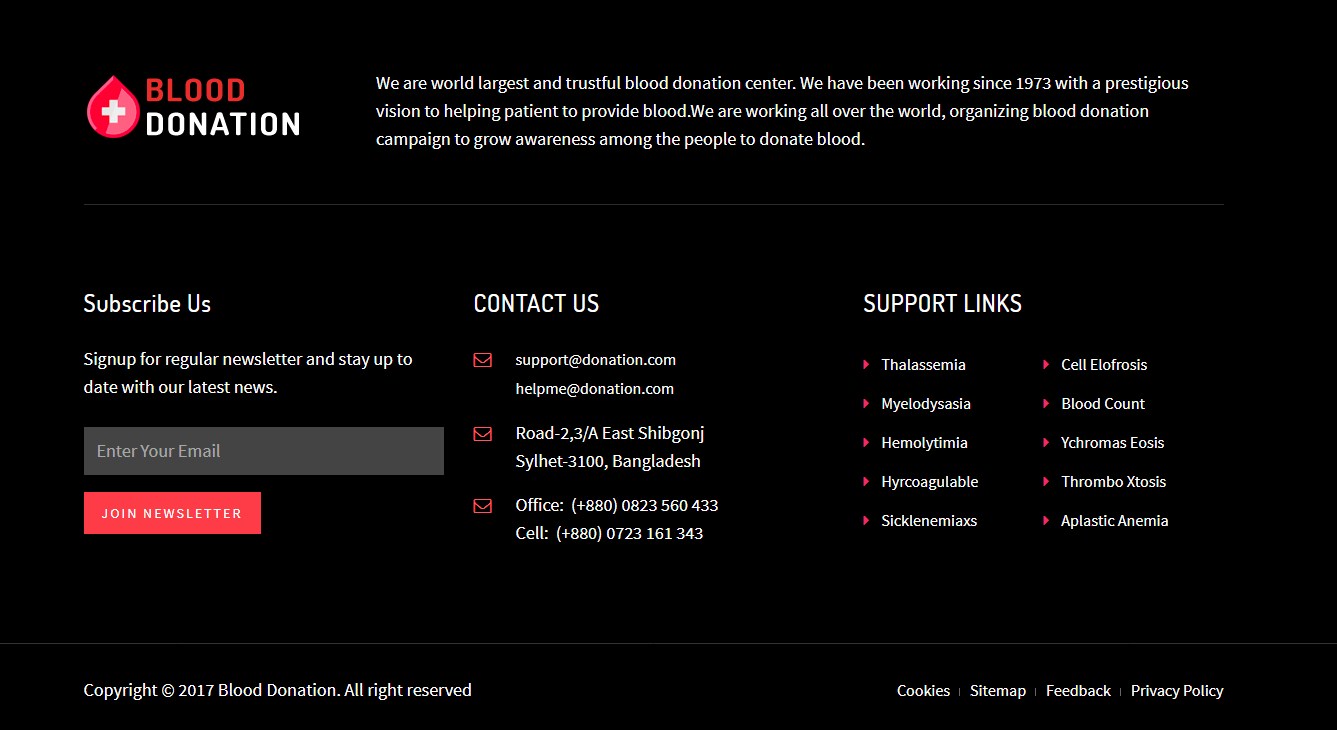
- Added: Option to change footer widget title separator and icon color.
- Fixed: One click demo installer issue.
- Updated: WPBakery Page Builder to 5.4.7.
- Updated: theme Red Drop Buddies VC Addon.
- Updated: Theme option panel. Options added to customize site buttons, headline colors and carousel navigation.
- Updated: Child theme.
- Updated: Theme language/translation file.
- Updated: Theme documentation.
2017, November, 24 - v 1.0.1
- Fixed: Footer php warning message if jumbo widget area is blank.
- Updated: Latest WPBakery Page Builder(5.4.5) plugin.
- Updated: Latest Red drop buddies VC Addon (1.0.1).
- Updated: Theme language/translation file.
- Updated: Theme documentation.
2017, November, 16 - v 1.0.2
- Initial release